

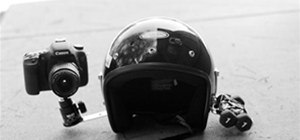
I'm in the middle of a project right now that uses POV for every shot. One of these shots involves a person swinging a golf club. A normal steadi-cam doesn't work very well for this, so I thought it might be easier to just build a helmet cam. Here's how I did it:

Step 1 Gather Supplies
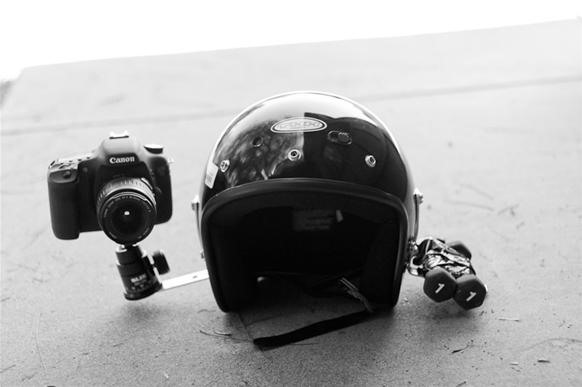
HERE'S WHAT I BOUGHT:
- Open faced motorcycle helmet ($15 used): Get the cheapest you can find (check thrift stores, ebay, buy used). Just make sure it covers the sides of your face. This allows the camera to sit at, or close to, eye level.
- 3-4" Corner braces ($3): I bought two 4" braces, but 3" would put the camera closer to your head. You could always switch them out later, if they use the same size screw holes.
- 1/4 - 20 Screws with nuts and washers ($2): You'll need 2 screws, 2 nuts, and 4 washers for each bracket. You'll also need another screw and washer to screw on the ball head.
- Camera Ball Head ($80-150): This will allow you to align your camera once it's on your head. I bought the Slik SBH-280 ($130). I got the one without the quick release, because I didn't need it and it would add to the cost, height, and weight of the unit. This unit is solid and very well built. It doesn't have a drag knob but, as long as you're careful when you unlock it, you'll be fine.
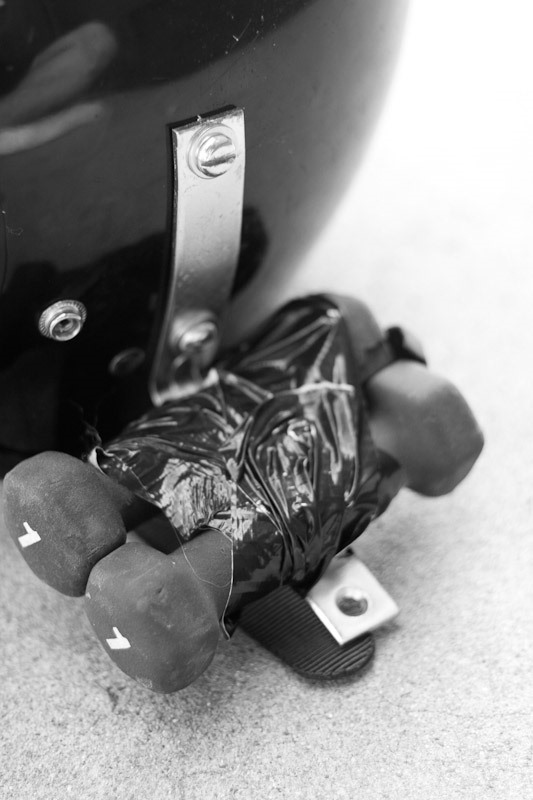
- Weights: You'll have to improvise here, but I am using light, hand weights, mounted with duct tape. These weights are used to counterbalance the camera. You could probably use iron or lead weights, just be creative. I'm looking into better options, but this is what I have at the moment.
Step 2 Tools
HERE ARE A LIST OF THE TOOLS YOU'LL NEED:
- Power Drill
- 7/32" Drill Bit: Even though your screws are 1/4", you'll want to make the hole a bit smaller so the screws will be snug in the hole. You could also use an even smaller bit to drill a pilot / starter hole.
- Screwdriver
- Vice
- Hammer
- Pliers
- Exacto knife
Step 3 Assemble Helmet
HERE'S HOW YOU ASSEMBLE
Roughly position Corner braces on the sides to get an idea of where you want them to go, relative to your camera / helmet, etc.
Next hammer both braces to contour to the sides of the helmet. Just grip them in a vice and hammer until you have a nice contour that's fairly flush to the helmet (it doesn't have to be perfect).
Now place your braces on the helmet and mark the helmet so you know where to drill.
Drill through each mark.
Depending on your helmet, you may have to cut some of the styrofoam out, in order to fit a nut on the end. You can do this with a screwdriver and / or an exacto knife.
Slide a washer onto each screw and screw them through the brace holes, into the helmet.
On the other side put another washer on and finally screw on a nut. Tighten with pliers and a screwdriver.
Now affix your weights on one side, and screw the ball head, with another screw, on the other side.
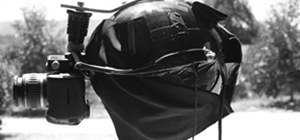
Attach camera, adjust ball head, and voila!
This is a work in progress, but it seems like a fairly inexpensive way to take some interesting shots. If you have any suggestions how to make this better, easier, etc., let me know.
Just updated your iPhone? You'll find new emoji, enhanced security, podcast transcripts, Apple Cash virtual numbers, and other useful features. There are even new additions hidden within Safari. Find out what's new and changed on your iPhone with the iOS 17.4 update.


5 Comments
This looks so cool. Please post the footage!
Thanks man! Haven't shot anything cool with it yet... but will post when I do.
Nice job on the step-by-step how-to, we shared it over in the DIY Filmmaking World. Definitely interested to hear more about your POV project!
Thank you for the post. I definitely have some stuff coming out, that will be using it.
Look amazing! But have you had any test video???
Share Your Thoughts